Raspberry & Blueberry Cheesecake

Raspberry Blueberry Cheesecake

With these hot temperatures, let’s keep preparing another non-baked dessert. I thought of making Raspberry & Blueberry Cheesecake in a glass.

Fancy a fresh and quick dessert?

Then Raspberry & Blueberry Cheesecake in a glass is the solution.

Biscuits, fresh cream, some fruit jam and spreadable cheese are ingredients we all easily have at home.

It is up to you deciding the taste of your cheesecake: I chose to buy fresh raspberries and blueberries.

Pleasing to the senses with alternating colours and textures.

You can replicate this recipe over and over again.

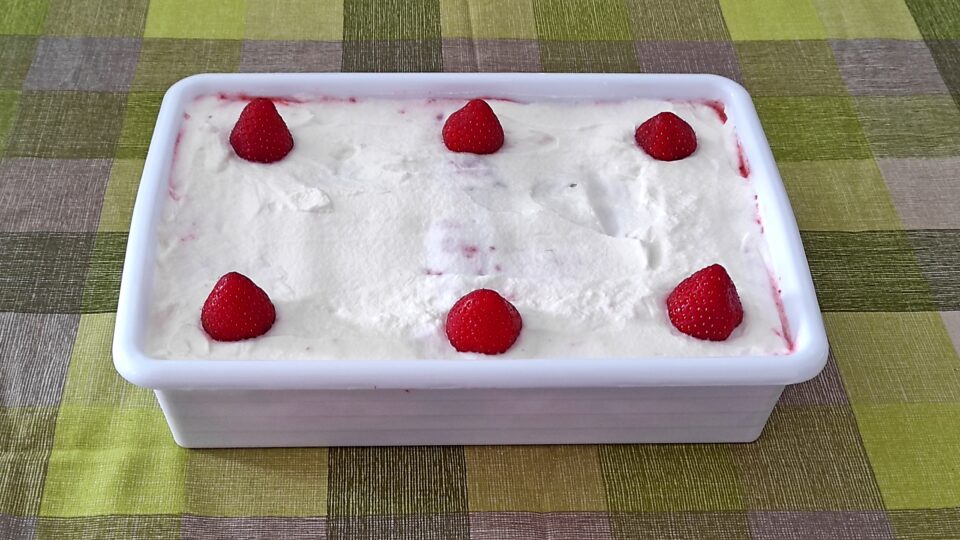
Let your imagination guide you: cherries, lemon, strawberries, pistachios, hazelnuts, chocolate chips…

Minimum effort and maximum effect.

What are you waiting for?

Go shopping and try it yourself…

Raspberry & Blueberry Cheesecake

Difficulty: Easy
Servings

5

servings
Prep time

30

minutes
Total time

30

minutes

Ingredients

  • 150 g of Digestive biscuits

  • 50 g of unsalted butter

  • 2 ml of vanilla essence

  • 200 g of light spreadable cheese

  • 200 ml of fresh cream

  • 65 g of icing sugar

  • 125 g of raspberries

  • 125 g of blueberries

  • 3-4 tablespoon of summerfruit jam

Directions

  • Crumble the biscuits and put them in a bowl.
  • Melt the butter and incorporate it into the crumbled biscuits with the vanilla essence.
  • Fill the glasses with the crumble, press it well into the bottom.
  • Leave the glasses in the fridge while preparing the filling.
  • In a large bowl, pour the light spreabable cheese and start working it with the electric whisk.
  • Then add the fresh cream and whip the mix until it is firm enough.
  • Split the whipped mix equally between two bowls.
  • In one of them, add some tablespoon of summerfruit jam and mix together until a violet mixture is obtained.
  • Using a sac à poche, spread the first layer on the crumble.
  • Take the remaining bowl of whipped mixture and, using another sac à poche, spread the second layer.
  • Decorate with fresh raspberries and blueberries, already washed and dried.
  • Leave the cheesecakes in the fridge until serving.

Strawberry Tiramisu

strawberry tiramisu

I had been thinking about a non-baked dessert for some time.

I eventually came up with the idea to try Strawberry Tiramisu.

I do apologise for the long absence since my last post.

I have been very busy with work, house hunting and sorting out a few things after moving back to Italy.

But back to the recipe! The little free time and abnormally hot weather in May did not lead me to think about using the oven…

Strawberry Tiramisu is my first non-bake proposal on this blog.

I think that, at least in the warm season, I will be posting more similar recipes.

This reinterpretation of the classic tiramisu is fresh and fruity, a little lighter but still easy and delicious.

Rather than using eggs and mascarpone cheese, I decided to combine white yogurt with whipped cream. This goes perfectly with the natural sweetness of strawberries.

This tiramisu is a perfect dessert to enjoy in the garden or as a fresh and light after-dinner treat.

Totally worth it!

What are you waiting for to try it?

Strawberry Tiramisu

Difficulty: Easy
Servings

6

servings
Prep time

30

minutes
Total time

30

minutes

Ingredients

  • 500 g of strawberries

  • 250 ml of fresh cream

  • 300 g of savoiardi biscuits (ladyfingers)

  • 125 g of white yogurt

  • 1 lemon

  • 2 tablespoons of sugar

Directions

  • Cut the strawberries into small pieces and season them with a little sugar and lemon.
  • Put half of the strawberries in a container and blend them with a blender.
  • Whip the fresh cream with the help of an electric whisk. When the cream is well whipped, add the pot of white yogurt.
  • Set aside in the fridge.
  • Put the juice from the strawberries in a bowl and dip the first layer of savoiardi biscuits in it, try not to submerge them completely.
  • In a rectangular container, deep enough to hold two layers, create the first one, add the blended strawberries and the whipped cream.
  • Wet the ladyfingers again, create another layer adding again the blended strawberries and the whipped cream.
  • Put some strawberries on top as a decoration.
  • Let the strawberry tiramisu rest in the fridge until serving.

Ricotta & Amaretti Cream Tart

ricotta, coffee, amaretti, tart

Ricotta & Amaretti Cream Tart is a dessert that you will fall in love with at first bite.

The filling is a real treat: rich, soft and sweet thanks to the ricotta, but at the same time pleasantly grainy thanks to the crushed amaretti, it releases an intense aroma and flavour, enriched by the presence of coffee.

Of course, if we want to taste less of the coffee, we can reduce the dose.

A triumph of flavours and fragrances that combine perfectly with each other to create a delicious dessert.

A slice of Ricotta & Amaretti Cream Tart is perfect as an after-dinner dessert.
Or as breakfast with a hot cappuccino, to start the day with the right dose of energy!

This is one of those desserts that pleases everyone and all true gourmets.

Bake it and, if you love the taste and aroma of coffee and amaretti biscuits, it will become one of your favourites!

This is one of those tarts you absolutely must try…

… simply irresistible!

Ricotta and Amaretti Cream Tart

Difficulty: Medium
Servings

8

servings
Prep time

30

minutes
Baking time

45

minutes
Total time

1

hour 

15

minutes

Ingredients

  • Shortcrust
  • 100 g of sugar

  • 1 pinch of salt

  • 80 g of sunflower oil

  • 1 egg and 1 yolk

  • 280-300 g of all purpose flour

  • 1 teaspoon of rising powder

  • 2 ml of vanilla essence

  • Filling
  • 350 g of ricotta

  • 60 g of icing sugar

  • 150 g of coffee yogurt

  • 5 teaspoons of coffee

  • 100 g of crushed amaretti biscuits

Directions

  • Let’s start preparing the filling.
  • Crush the amaretti biscuits with a blender and set aside.
  • In a large bowl pour ricotta, icing sugar, yogurt and coffee in order to get a fluid cream.
  • Add the crushed amaretti biscuits and mix everything until the cream reaches the right consistency.
  • Set aside in the fridge while preparing the shortcrust.
  • In a large bowl, combine sugar, a pinch of salt, oil, the vanilla essence, the whole egg and the yolk.
  • Stir with a fork, then gradually add the flour and baking powder until a dough begins to form.
  • Move to a work surface and add the remaining flour until the dough is elastic and no longer sticks to your hands.
  • Roll out on a sheet of baking paper to a thickness of about 4-5 mm. 
  • Roll out the shortcrust pastry into a 26 cm tart mould and pierce it with a fork.
  • Fill the shortcrust pastry shell with the creamy mix.
  • Roll out the remaining shortcrust pastry and make some strips to place on the tart.
  • Bake in a preheated oven to 180°C for about 45 minutes until golden brown.
  • Once cooled to room temperature, take it out of the mould.
  • Serve it as it is or with a little sprinkle of icing sugar.

Sicilian Cassata’s Tart

Sicilian-Cassata-Tart

I have been thinking about the Sicilian Cassata’s Tart for some time.

The idea was using the ingredients, with a personal touch, of the Sicilian Cassata, interpreting them as a tart.

I love using the proven and simple oil-based shortcrust pastry recipe, this time flavoured with vanilla essence.

The creamy ricotta filling with chocolate chips and glace fruitmix peel is at the heart of the tastes and flavours of this dessert.

A perfect dessert for the festive season, but you can enjoy it whenever you like, at breakfast or after a meal with a glass of passito wine.

If you, like me, love the taste of Sicilian Cassata, I recommend you to give this tart a try.

You won’t regret it!

Sicilian Cassata’s Tart will keep in the fridge for two or three days.

Can you manage not to finish it before?

Sicilian Cassata’s Tart

Difficulty: Medium
Servings

8

servings
Prep time

30

minutes
Baking time

45

minutes
Total time

1

hour 

15

minutes

Ingredients

  • Shortcrust
  • 100 g of sugar

  • 1 pinch of salt

  • 80 g of sunflower oil

  • 1 egg and 1 yolk

  • 280-300 g of all purpose flour

  • 1 teaspoon of rising powder

  • 2 ml of vanilla essence

  • Filling
  • 400 g of ricotta

  • 2 g of cinnamon

  • 80 g of icing sugar

  • 1 egg

  • 100 g of glace fruitmix peel (citron, orange and papaya)

  • 70 g of chocolate chips

Directions

  • Let’s start preparing the filling.
  • In a large bowl pour ricotta, icing sugar and cinnamon.
  • Add one egg in order to obtain a thick creamy mix.
  • Add the chocolate chips and the glace fruitmix peel.
  • Set aside in the fridge while preparing the shortcrust.
  • In a large bowl, combine sugar, a pinch of salt, oil, the vanilla essence, the whole egg and the yolk.
  • Stir with a fork, then gradually add the flour and baking powder until a dough begins to form.
  • Move to a work surface and add the remaining flour until the dough is elastic and no longer sticks to your hands.
  • Roll out on a sheet of baking paper to a thickness of about 4-5 mm. 
  • Roll out the shortcrust pastry into a 26 cm tart mould and pierce it with a fork.
  • Fill the shortcrust pastry shell with the creamy mix.
  • Roll out the remaining shortcrust pastry and make some strips to place on the tart.
  • Bake in a preheated oven to 180°C for about 45 minutes until golden brown.
  • Once cooled to room temperature, take it out of the mould.
  • Serve it as it is or with a little sprinkle of icing sugar.

Forest Fruit Jam Tart

cocoa tart forest fruit jam

Forest Fruit Jam Tart makes eveyone happy.

I was curious to try the combination of cocoa and forest fruits so I decided to bake this tart.

A quick, crumbly, oil-based cocoa shortcrust pastry shell filled with delicious berry jam.

An easy to make dessert, excellent for breakfast or the afternoon tea!

Close your eyes and be overwhelmed by blending the cocoa flavour with the freshness of forest fruit jam.

Forest Fruit Jam Tart is of those recipes have to try at least once in your life.

It’s not a sin if you end up baking it once, twice, three times or infinitely…

Are you still thinking about it?

Get ready because I would say this is worth indeed!

Forest Fruit Jam Tart

Difficulty: Easy
Servings

8

servings
Prep time

30

minutes
Baking time

45

minutes
Total time

1

hour 

15

minutes

Ingredients

  • 100 g of sugar

  • 1 pinch of salt

  • 80 g of sunflower oil

  • 1 eggs and 1 yolk

  • 280-300 g of all purpose flour

  • 1 teaspoon of rising powder

  • 20 g of cocoa powder

  • 250 g of forest fruit jam

Directions

  • In a large bowl, combine sugar, a pinch of salt, oil, the whole egg and the yolk.
  • Stir with a fork, then gradually add flour, baking powder and the cocoa powder until a dough begins to form.
  • Move to a work surface and add the remaining flour until the dough is elastic and no longer sticks to your hands.
  • Roll out on a sheet of baking paper to a thickness of about 4-5 mm. 
  • Roll out the shortcrust pastry into a 26 cm tart mould and pierce it with a fork.
  • Fill the shortcrust pastry shell with the forest fruit jam.
  • Roll out the remaining shortcrust pastry and make some strips to place on the tart.
  • Bake in a preheated oven to 180°C for about 45 minutes.
  • Once cooled to room temperature, take it out of the mould.
  • Serve it as it is or with a little sprinkle of icing sugar.
Cocoa Tart ForestFruit Jam